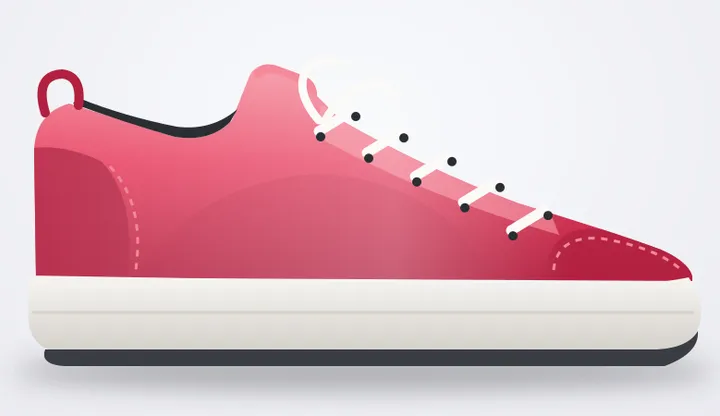
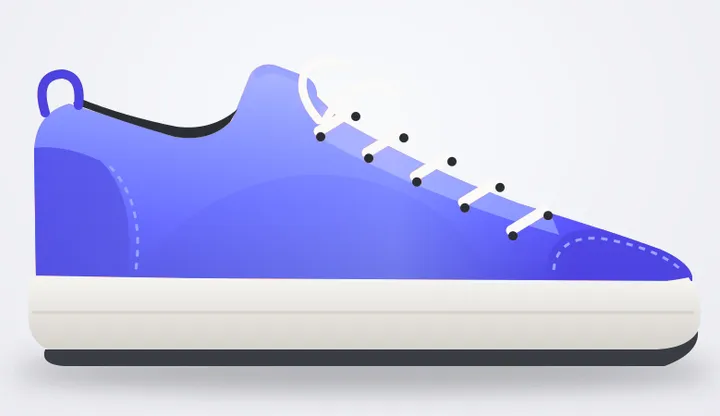
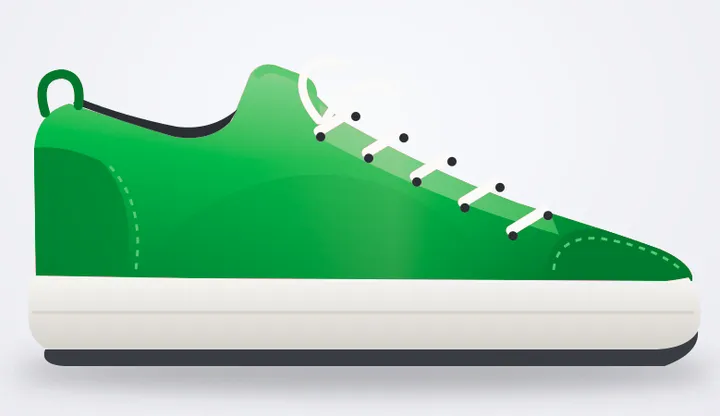
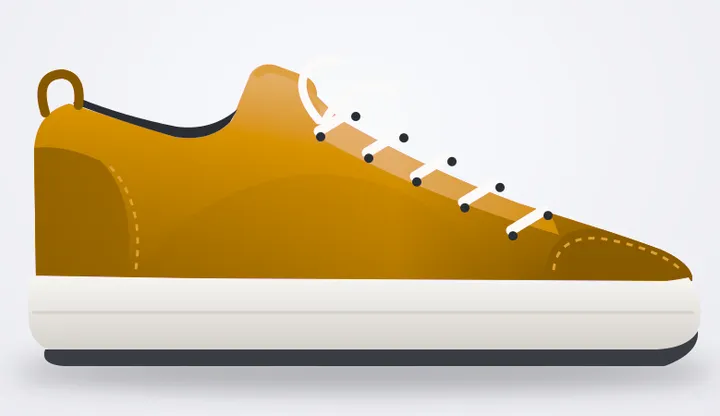
What the remapper does
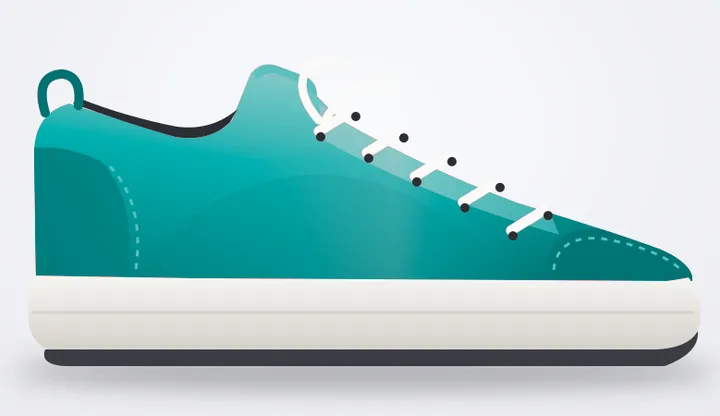
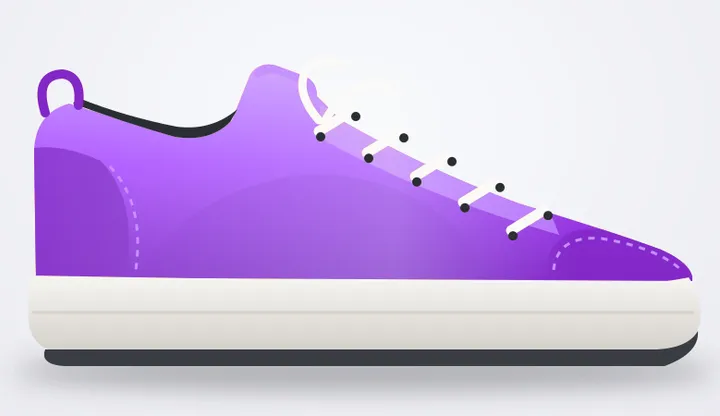
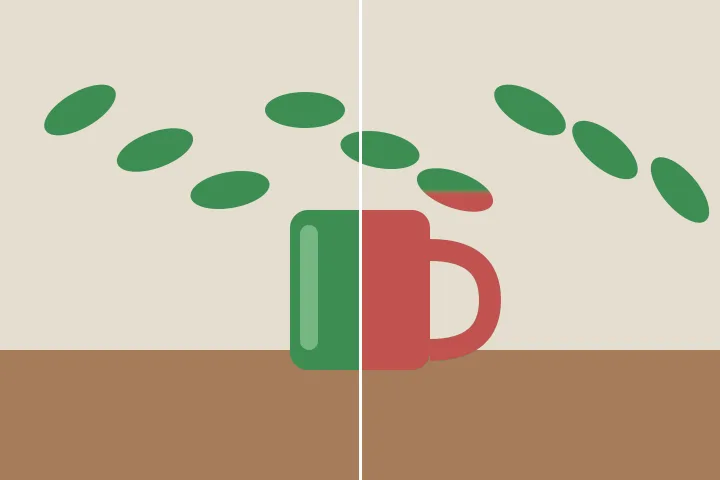
This page does one arithmetic operation. It takes a colour you name, works out how much every pixel in the frame resembles it, and moves the ones that do towards a colour you also name. The number attached to each pixel is a weight between zero and one, not a yes or a no, and the ones that score zero are copied to the output as the bytes they arrived as. That is the whole promise: the tarmac in a photograph of a red car is not re-encoded, not re-quantised and not rounded. It is the same tarmac.
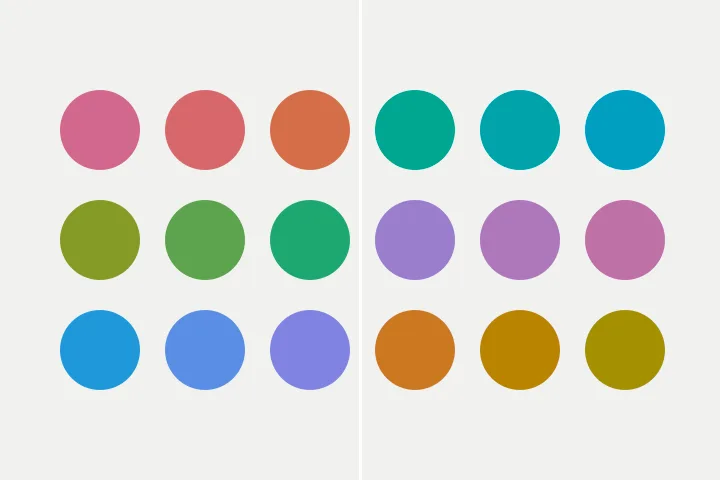
The comparison happens in OKLab rather than in RGB, and that decision is the reason a single tolerance slider is usable at all. Two colours thirty counts apart in RGB can be indistinguishable or plainly different depending on where in the range they sit, so a threshold built on RGB distance behaves as one thing in the highlights and another in the shadows. Converting once on decode costs roughly twenty-five milliseconds per megapixel and buys a tolerance that means the same amount of colour everywhere.
| Slider | Unit | What it separates |
|---|---|---|
| Hue | 0 to 90 degrees | one colour from another |
| Chroma | 0 to 0.300 OKLCH | a colour from a grey |
| Lightness | 0 to 1.00 OKLab | a lit surface from one in shade |
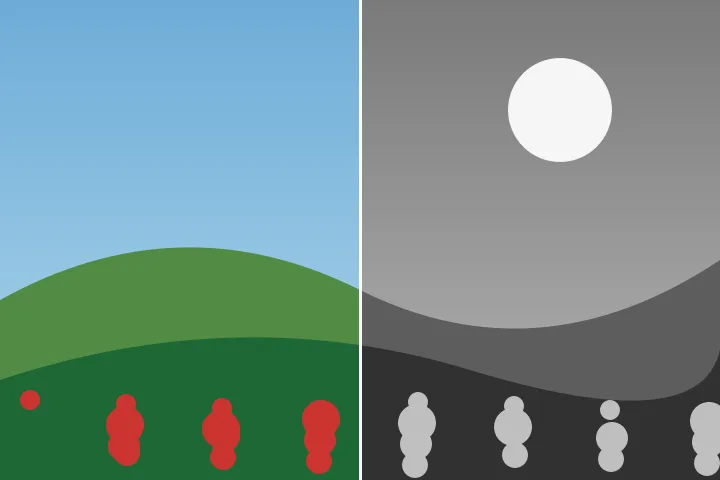
Three sliders is more than most tools offer and it is the point. Selecting this red car rather than every warm pixel in the frame is a question about all three quantities at once: the paint and the brick behind it may share a hue and differ in chroma, while the paint and its own shadow share a hue and a chroma and differ only in lightness. One combined number cannot express that, and a tool built on one will eventually select the sky.
Order of operations
The rail runs top to bottom in the order the arithmetic does. First the two colours: From, which you sample with the dropper, type as a hex value or read off the loupe, and To, which you set the same way or drag on the hue band. Both chips carry their hex value and their OKLCH reading as visible text, because a pair of swatches distinguished only by position is unreadable to anyone who cannot see the difference between them.
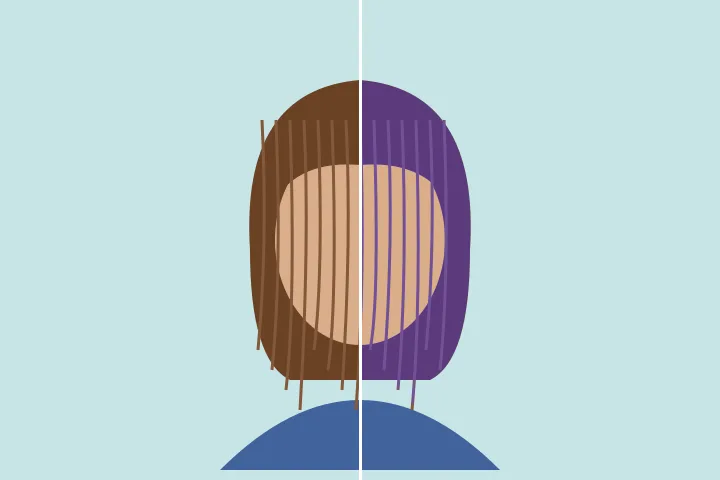
Then the mode, because the mode decides what the numbers below it mean. Hue shift rotates the selection onto the target hue and leaves every lightness value exactly where it was, so the highlight on a bonnet, the reflection of the sky in it and the shadow under the wing mirror all survive — they were never stored as hue in the first place. Absolute replace writes the target across the selection, modulated only by relative lightness. It is the right answer for a logo, a screenshot or a flat fill, and on a photograph it looks like paint, which is why the rail says so next to the control rather than in a help page.
Then the three tolerances, with the coverage figure under them. Coverage is the percentage of the frame the current selection holds, weighted — a pixel at half strength counts half — and it is the single most useful number on the page. The most common failure in colour replacement is not a bad target colour; it is a selection that quietly grew to include something you were not looking at. Past sixty percent the rail says so, while the preview shows what joined in. Under the coverage figure a sentence says the same thing in words — how many pixels, where in the frame and in how many pieces — for anyone who cannot see the mask. The mask button paints the weights straight onto the picture as an inversion whose strength is the weight itself, so a feathered shoulder looks like a feathered shoulder rather than a cut line.
The stack
Every committed operation is a record of parameters — mode, the two colours, three tolerances — and never a bitmap. The stack holds them in order, any entry can be reopened and edited, and entries can be moved past one another. Reordering matters more than it sounds: an operation selects against the state of the picture as it stands when its turn comes, so moving a red-to-teal step above a teal-to-navy step changes which pixels the second one finds. Stepping back is a re-render from the list rather than a stored frame, which is why the history costs bytes.
Keys
I arms the dropper. 1 and 2 choose the mode. H, C and L move focus to the hue, chroma and lightness sliders, where the arrow keys then adjust by one unit. Holding Space shows the original for as long as it is held. Enter adds the next operation, D saves, and undo and redo are where they always are.
What it reads and what it saves
JPG, PNG, WebP and GIF all decode through the browser’s own image pipeline; BMP, TIFF and ICO open where yours knows them, which for a TIFF usually means Safari and nothing else — there is no TIFF decoder in this page. HEIC — what a current iPhone writes by default — needs a WebAssembly decoder of about 2.0 MB, fetched the first time such a file is opened and absent from the page until then. Animated GIF and WebP inputs are reduced to frame one; the remaining frames are discarded. A CMYK or YCCK JPEG is converted approximately to sRGB on the way in. An alpha channel is carried through untouched and is never part of a selection: transparency is not a colour.
Orientation is resolved before anything is measured. The tool decodes a two-by-one probe JPEG with the orientation hint set to none and looks at a pixel: if the decoder left it alone, the EXIF rotation is applied here, and if the decoder had already applied it, it is not applied twice. A frame rotated a quarter turn changes which edge is long, and more to the point a photograph shown sideways is not one anyone can sample accurately.
Above roughly 32 megapixels — 16 on iOS, where the canvas backing store fails silently rather than throwing — a lighter working copy is offered as a choice with both answers given equal weight. Above 100 megapixels (40 on iOS) the file is declined with the measured figure named. The file ceiling is 120 MB.
Indexed PNGs do not take the photographic path
A PNG with colour type three stores a table of at most 256 colours and, per pixel, an index into that table. Recolouring one is a table edit of at most 768 bytes, so that is what happens: the palette entries are remapped, the CRC of that one chunk is recomputed, and every other byte in the file — the header, the compressed pixel data, the transparency chunk — is copied across identically. The result is exact, it is still indexed, and it is still the same size. Sending a logo through the truecolour path instead would decode it, remap it, re-encode it and hand back something larger with new artefacts in the flat areas.
Output is PNG, JPG at a quality between 60 and 100 defaulting to 92, WebP, or the original indexed PNG with its table rewritten. EXIF is stripped on the way out, GPS included. What is saved is pixels and their dimensions.
What each way of saving costs
The remap is the same arithmetic whichever way the file leaves; the difference between the four output choices is what the encoder does to the result afterwards, and on a recoloured picture that is not a neutral question. A remap tends to replace variation with agreement — a bonnet that held forty distinct reds holds forty distinct teals, but a flat logo fill that held one colour now holds one other colour across a wide, hard-edged area. Wide flat areas with hard edges are where a block encoder gets cheap, and they are also where it shows.
| Saved as | What the encoder does | What that costs |
|---|---|---|
| PNG | nothing lossy | the largest file, and every remapped value survives exactly |
| JPG | 8 by 8 blocks, colour resolution halved | a small fraction of the size, and fringing at a hard repaint edge |
| WebP | the same idea with better prediction | smaller than JPG at a quality that reads the same |
| Indexed PNG | rewrites a table, copies the indices | the size it arrived at, with nothing re-encoded |
The halved colour resolution is the part worth knowing, because a colour tool is the one place it bites. JPEG and WebP both store lightness at full resolution and colour at half, which is nearly invisible on a photograph and plainly visible on a saturated shape with a clean boundary — the exact thing a strong recolour produces. If what you repainted has a hard edge against a contrasting background, PNG is the honest answer and WebP is the compromise. If it is paint on a car in daylight, JPG at 92 will not show you anything you did not ask for.
Two things this cannot do
Both are properties of the operation rather than gaps in this implementation, and knowing them in advance is worth more than discovering them at the download.
- A colour with no chroma has no hue to rotate, and a colour with no lightness has nowhere to put one. Below about 0.02 in OKLCH the hue angle of a pixel is rounding noise — this is exactly the case with white, grey and black clothing — so hue shift has nothing to work on and leaves the region where it was. Absolute replace can assign a hue, and on a light grey it works well because the lightness range is intact. On black it does not: there is no range there, and what comes back is a dark smear with the folds of the garment gone. The page will let you do it and the result will show you why you should not.
- Everything here is computed in sRGB, and a colour that sRGB cannot hold is brought back to one it can. A Display P3 source is converted on the way in, so its most saturated reds and greens arrive already reduced; a target colour that lands outside the gamut after a remap has its chroma lowered along constant lightness and hue until it is representable. Both are silent losses in the sense that no pixel announces them, and both are visible in the readout if you look: the colour written to the file is the one the swatch shows after the clip, not the one that was requested. This is a colour tool, not a colour-managed pipeline, and a print workflow that depends on a wide-gamut profile should not end here.
Asked and answered
I set the hue tolerance to 40 degrees and the sky joined the selection. Why did that happen?
Because hue on its own is a very weak description of a colour. A pale blue sky and a deep blue jacket sit within a few degrees of each other on the wheel and are told apart by chroma and lightness, not by hue. Forty degrees of hue is an enormous band — it is a ninth of the whole wheel — and once it is that wide the other two sliders are the only things holding the selection together. Narrow chroma first. It is the measurement that separates a saturated object from a washed-out background, and the coverage figure under the sliders drops the moment it starts working.
The car changed colour but it went flat and plasticky. What did I pick?
Absolute replace, almost certainly. That mode writes the target colour across the selection and varies it only by how light each pixel already was, which is right for a flat fill in a logo and wrong for paint. Photographed paint carries its shape in dozens of distinct chroma values, and replacing all of them with one value removes the shape. Hue shift is the mode that keeps it: it rotates each pixel to the target hue, scales chroma by a single factor, and does not touch lightness at all.
Can I turn a black jacket blue?
Not into a blue anyone would call blue. Colour needs light to sit on, and a black garment in a photograph is often eight or ten counts away from zero across the whole region — there is no range there to tint. Absolute replace will put the target colour in and the result will be a dark grey-blue smear with the jacket's folds gone, because the folds were the only variation present. A white or light grey garment is the opposite case and works well: there is a full lightness range, it simply has no hue, and assigning one is what the absolute mode does.
Why does the exported file look slightly different at the edges of the object?
It should look better, not different. The mask is a function of pixel values rather than a stored shape, so at export it is evaluated again against the full-resolution pixels instead of being scaled up from the 1,280 pixel working copy. A boundary that was six preview pixels wide is recomputed across the forty real pixels it actually occupies, and the feathered shoulder lands where the colours actually change. Nothing else about the operation differs: it is the same function with a bigger array.
I asked for a specific colour and the result is not quite it. What moved?
One of two things, and the readout says which. In hue shift, the target's hue is applied exactly but its chroma is used only as a scale factor against the selection's own mean, capped at 1.6 — so a strongly saturated target applied to washed-out paint produces the hue you asked for at the saturation the paint can carry. In either mode, a result outside sRGB is brought back by lowering chroma along constant lightness and hue until it is representable. That is a deliberate choice over clamping the three channels, which moves them by different amounts and quietly rotates the hue away from the one thing you specified.
Does an animated GIF keep animating?
No. The first frame is decoded and the rest are not read, so what comes out is a still picture. That is stated here rather than discovered at the download because the file will otherwise look like it simply lost something. If the animation matters, this is the wrong page for the file.
The same arithmetic, opened differently
One route opens this instrument in its narrowest form — the dropper armed, a single operation, no list to keep. The written pages take the three questions a slider cannot answer and give each one the room to be settled: what a tolerance figure is actually measuring and why the same figure behaves as two settings inside one photograph, what a white, grey or black garment will accept and what it will not, and why a logo saved as an indexed PNG comes back at the size it arrived at with the pixel data never read.
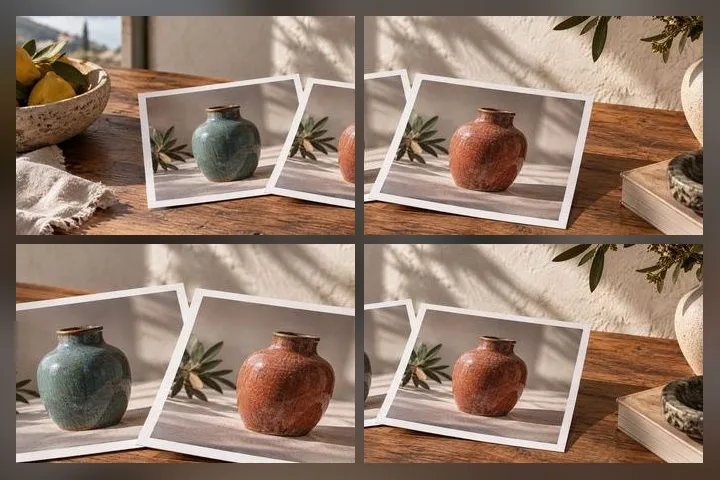
- Replace a colourThe dropper armed on open, two swatches, one operation and nothing else to manage.
- Change an object's colourMark the object first with a rectangle or the brush, then sample and recolour inside it.
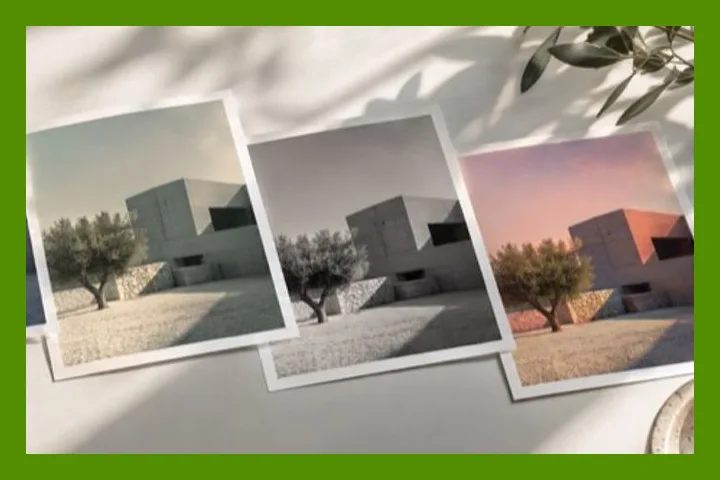
- Make a photo black and whitePerceptual conversion, red to blue filter looks, a three-point curve and a true greyscale PNG.
- Colour variantsFour to eight colourways from one selection, or one per brand colour, saved as a ZIP.
- Written pagesEight arguments about colour, each one at a place where the arithmetic stops being obvious.
- Tolerance in a perceptual spaceThe same number selects two different amounts of colour in RGB, and one amount in OKLab.
- Recolouring neutral clothingThe chroma floor, why a white shirt is easy, and why a black one is not.
- Indexed PNG palettesAt most 768 bytes rewritten, one CRC recomputed, and no pixel index touched.
Image data is never posted anywhere: decode, mask, remap and encode all happen inside this tab's memory, and that memory is released when you leave.
Identity photographs such as passport photos must be unaltered. Do not use a recolour on a photo you will submit as ID.